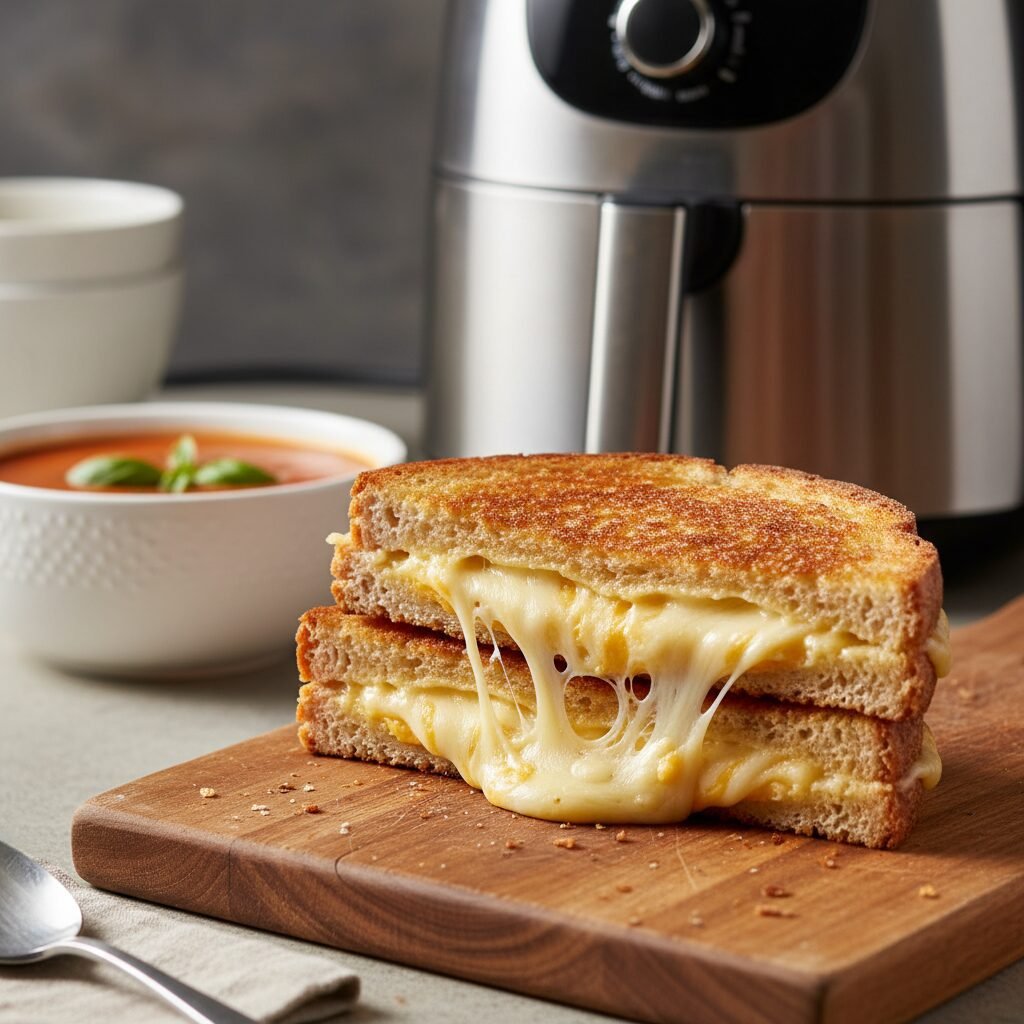
Air Fryer Grilled Cheese
Forget hovering over a hot stove! This Air Fryer Grilled Cheese creates the most incredible, evenly toasted sandwich with that iconic cheese pull we all crave, all in under 10 minutes.
5 minutes
8 minutes
13 minutes
2 Sandwiches
Lunch
Air Fryer
American
Vegetarian
Let’s be honest, friends. Is there anything in this world more nostalgic and soul-soothing than a classic grilled cheese sandwich? It takes me right back to rainy days in my childhood kitchen, waiting for my mom to slide that golden plate of buttery goodness across the table. It is the ultimate comfort food, a hug in sandwich form, and a staple in our weekly meal rotation.
However, as a busy mom running a chaotic household, the traditional stovetop method doesn’t always fit into my schedule. You know the drill: standing over the pan, constantly checking the heat, praying you don’t burn the bread before the cheese melts, and flipping just one sandwich at a time while the kids are asking, "Is it ready yet?" for the fiftieth time. It’s a labor of love, but it takes time and attention that I don’t always have.
Enter the Air Fryer. Oh my goodness, you guys, this appliance has completely revolutionized my lunch game. When I first tried making a grilled cheese in the air fryer, I was skeptical. Could it really rival the buttery crunch of a cast-iron skillet? The answer is a resounding YES. In fact, I dare say it’s better. The circulating hot air crisps the bread evenly on all sides—not just the bottom—creating a texture that is impossibly crunchy on the outside while keeping the inside soft and the cheese perfectly molten. Plus, it’s hands-off! I can toss them in, help with homework or unload the dishwasher, and come back to perfection. If you haven’t tried Air Fryer Grilled Cheese yet, consider this your sign. Your lunch routine is about to get a major upgrade!
History & Origins
While bread and cheese have been paired together since ancient times, the modern "grilled cheese" as we know and love it is a distinctly American invention that gained traction in the 1920s. Back then, it was often called a "toasted cheese" or "melted cheese" sandwich. The invention of sliced bread and the availability of affordable processed cheese (thanks, James L. Kraft!) made this dish a staple during the Great Depression because it was inexpensive, filling, and nutritious.
Originally, these sandwiches were open-faced, topped with grated cheese, and broiled. It wasn’t until the 1960s that the top slice of bread became standard, and the term "grilled cheese" appeared in print. Since then, it has evolved from a humble economy meal to a gourmet canvas for artisan breads and fancy cheeses. Today, we are writing the next chapter in this delicious history by moving from the skillet to the air fryer. This modern twist uses convection technology to achieve that perfect Maillard reaction (browning) with less grease and more consistency. It’s the 21st-century evolution of a timeless classic!
Why This Recipe Works
You might be wondering, "Why fix what isn’t broken? Why use an air fryer?" The science behind why this works so well lies in the convection heat. In a traditional pan, heat is transferred through conduction—direct contact with the hot metal. This is great, but it often leads to uneven browning if your burner has hot spots, or burnt bread before the heat penetrates the center to melt the cheese.
The air fryer, on the other hand, circulates superheated air rapidly around the entire sandwich. This mimics the effect of a deep fryer but without the oil bath. This circulating air dries out the surface moisture of the bread very quickly, creating an incredibly crispy, cracker-like exterior shell that locks in the steam and heat. This trapped heat melts the cheese much faster and more evenly than a stovetop pan usually can. Furthermore, because the rack allows air to flow underneath the sandwich as well, you get a head start on crisping the bottom slice before you even flip it. The result is a textural masterpiece: audible crunch on the outside, gooey perfection on the inside, every single time.
Why You’ll Love This Recipe
- ✓Ready in under 10 minutes
- ✓No stovetop babysitting required
- ✓Perfectly even golden-brown crust
- ✓Super kid-friendly and customizable
- ✓Less greasy than pan-frying
- ✓Easy cleanup with minimal mess
Equipment You’ll Need
- ✓Air Fryer (Basket style or Oven style)
- ✓Butter Knife or Spreader
- ✓Toothpicks (Optional but recommended)
- ✓Spatula
Ingredients
- ✓4 slices of sturdy bread (Sourdough, Texas Toast, or Country White work best)
- ✓2 tablespoons salted butter, softened (or mayonnaise for extra crispiness)
- ✓2 slices sharp cheddar cheese
- ✓2 slices mild cheddar, mozzarella, or gruyere cheese
- ✓Optional: Garlic powder or dried parsley for the crust
Instructions
- Preheat the Air Fryer: Set your air fryer to 370°F (188°C). While many recipes say you can skip this, preheating ensures the bread starts sizzling the moment it hits the basket.
- Prep the Bread: While the air fryer heats up, spread one side of each slice of bread generously with softened butter or mayonnaise. Yes, mayonnaise! It spreads easier and has a higher smoke point, leading to a fantastic crunch.
- Assemble the Sandwich: Place two slices of bread, butter-side down, on a cutting board or plate. Layer your cheese slices on top. I like to mix sharp cheddar for flavor and mozzarella or gruyere for that epic cheese pull. Top with the remaining bread slices, butter-side facing up.
- Secure the Goods: This is a pro-mom tip! Air fryers have powerful fans that can blow the top slice of bread right off. Secure the sandwich by sticking a toothpick through the center (just remember to remove it before eating!).
- Cook: Carefully place the sandwiches in the air fryer basket in a single layer. Cook for 4 to 5 minutes at 370°F.
- Flip and Finish: Open the basket, carefully flip the sandwiches over, and cook for another 3 to 4 minutes. Keep an eye on them during the last minute to ensure they reach your desired level of golden brown.
- Serve: Remove from the air fryer, let them sit for 1 minute (this helps the cheese set slightly so it doesn’t run out when you cut it), slice diagonally, and serve hot!
Expert Cooking Tips
- ✓Use the Toothpick Trick: The convection fan is strong! A toothpick prevents the ‘flying bread’ disaster.
- ✓Shred Your Own Cheese: If you want the best melt, shred block cheese yourself. Pre-shredded cheese has anti-caking agents that prevent it from melting smoothly.
- ✓Mayo vs. Butter: Mayo creates a slightly tangier, crispier crust that doesn’t burn as easily as butter. Try it at least once!
- ✓Don’t Overcrowd: Air needs to circulate. If you have a small basket, cook one at a time to ensure the sides get crispy.
- ✓Press It Down: Before putting it in the basket, press the sandwich down firmly with your hand to help the ingredients adhere.
Substitutions and Variations
One of the best things about grilled cheese is how adaptable it is! If you are Gluten-Free, simply swap the bread for your favorite sturdy GF loaf (Canyon Bakehouse is a personal favorite). For a Vegan version, use plant-based butter or oil and a high-quality vegan melting cheese like Chao or Violife. If you want to elevate the flavor, try swapping standard butter for garlic butter or pesto!
Common Mistakes to Avoid
The most common mistake people make is using bread that is too light or airy. Standard sandwich bread can sometimes dry out too fast or fly around the basket. Opt for a heartier slice like sourdough or artisan white. Another mistake is setting the temperature too high (like 400°F). This will burn the bread before the cheese has fully melted. Stick to 370°F or 375°F for the sweet spot. Lastly, forgetting to flip the sandwich will result in one side being super crunchy and the other side being just ‘okay.’ The flip is mandatory!
Serving Suggestions
A grilled cheese is lonely without its best friend: Tomato Soup! Serve this alongside a creamy roasted tomato basil soup for dipping. It also pairs beautifully with a crisp Caesar salad to cut through the richness, or some sweet potato fries for a fun kid-friendly lunch platter. For an adult version, serve with a side of cornichons or pickled onions.
Storage and Reheating Tips
Grilled cheese is definitely best enjoyed fresh out of the fryer. However, if you have leftovers (which is rare in my house!), let them cool completely before storing them in an airtight container in the fridge for up to 2 days. Do not microwave to reheat, or it will become a rubbery mess. Instead, pop it back into the air fryer at 350°F for 2-3 minutes until crispy and warm again.
Nutrition Facts (Estimated)
| Serving Size | 1 Sandwich |
| Calories | 450 kcal |
| Fat | 28g |
| Saturated Fat | 16g |
| Unsaturated Fat | 10g |
| Trans Fat | 0.5g |
| Cholesterol | 75mg |
| Sodium | 680mg |
| Carbohydrates | 32g |
| Fiber | 2g |
| Sugar | 3g |
| Protein | 15g |
Frequently Asked Questions
Why did the top slice of bread fly off?
This is the air fryer’s powerful fan at work! The bread is light until the cheese melts and acts as glue. Always use a toothpick to secure the sandwich for the first half of cooking.
Can I use frozen bread?
Absolutely! You might need to add 1-2 extra minutes to the cooking time, but it works surprisingly well and crisps up nicely.
Is mayonnaise really better than butter?
It’s a matter of preference, but culinarily speaking, mayo spreads easier on soft bread and browns more evenly without burning because of the oil and egg content. It adds a lovely subtle tang!
Can I put parchment paper under the sandwich?
You can, but I recommend using perforated parchment paper specifically for air fryers. Regular paper can block airflow and prevent the bottom from crisping up.
What is the best cheese for grilled cheese?
A combination is key! Use a sharp cheddar for flavor and a good melter like American, Monterey Jack, or Gruyere for texture. Avoid aged hard cheeses like Parmesan as the main filler; they don’t melt well.
How do I add fillings without them falling out?
Place heavier fillings (like ham or tomato) between two layers of cheese. The cheese acts as the glue on both sides to hold everything together.
Why is my cheese not melting?
If your bread is burning before the cheese melts, your temperature is too high. Drop it to 350°F and cook a bit longer. Also, make sure your cheese isn’t ice cold from the fridge; letting it sit out for 10 minutes helps.
Can I make this in an oven-style air fryer?
Yes! Place the sandwiches on the middle rack. You may not need to flip them if the airflow is consistent, but flipping ensures even browning.
Conclusion
And there you have it, mamas! The secret to the crispiest, gooiest, most stress-free grilled cheese you’ll ever make. Once you try the air fryer method, I promise you won’t want to go back to the skillet. It’s perfect for those busy school-from-home lunches, quick weeknight dinners, or just when you need a little cheesy comfort food without the hassle. I hope this recipe brings a little extra joy and ease to your kitchen today. If you try it, don’t forget to snap a picture and tag me—I love seeing your creations! Happy cooking!