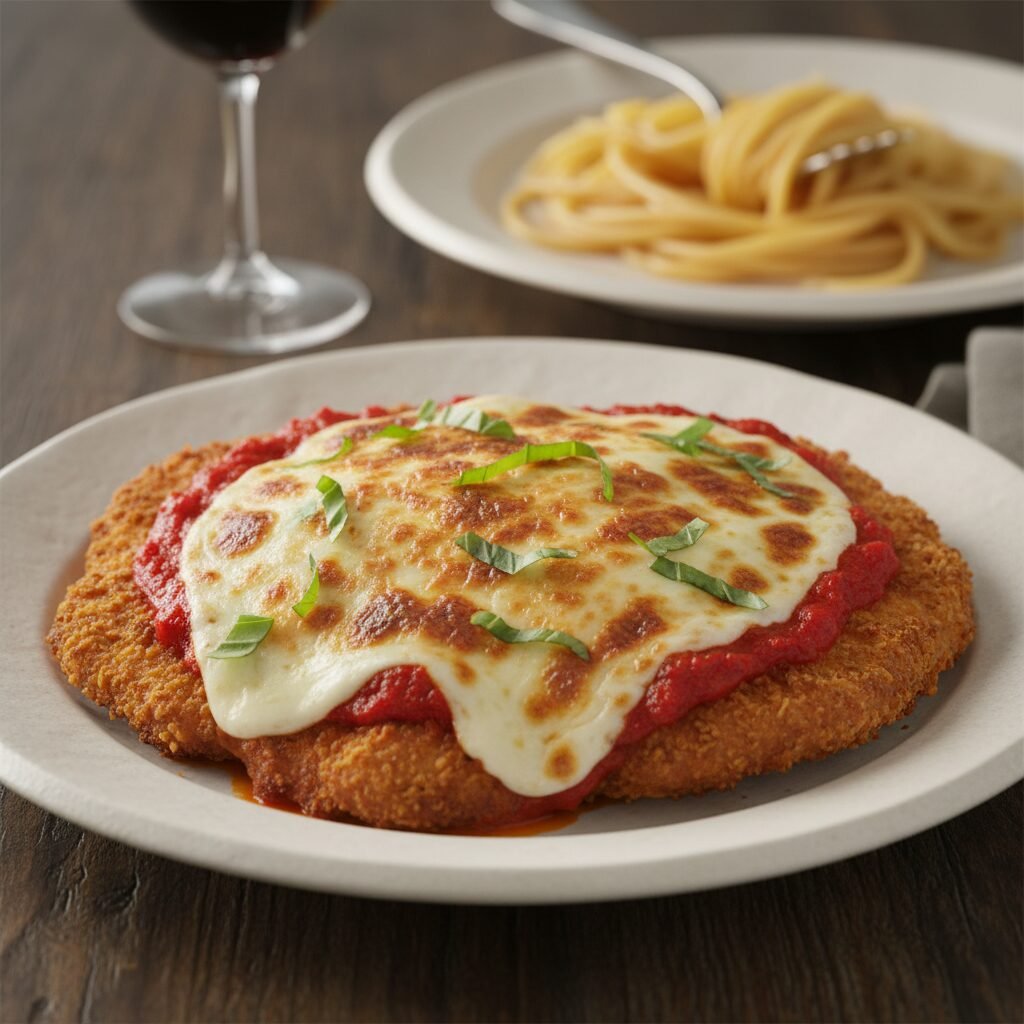
Chicken Parmesan
If there is one meal that brings everyone to the table without a single complaint, it’s this crispy, cheesy Chicken Parmesan. It’s golden-fried to perfection, smothered in rich tomato sauce, and topped with gooey mozzarella—basically a warm hug on a plate!
20 minutes
25 minutes
45 minutes
4 Servings
Dinner
Pan Fry & Bake
Italian-American
Omnivore
Hey there, lovely mamas and home cooks! Welcome back to my kitchen. Today, we are tackling a classic that I honestly believe every mom should have in her back pocket: Chicken Parmesan. Now, I know what you might be thinking. "Is it really worth the effort to bread and fry chicken on a Tuesday night?" Oh, sweet friend, let me tell you—it absolutely is. There is something magical that happens when you take a simple chicken breast, coat it in seasoned crumbs, fry it until it’s golden and crispy, and then introduce it to a bubbling bath of marinara and cheese.
For years, I ordered this dish at our local Italian spot, convinced that achieving that perfect balance of crunch and sauce was some sort of chef wizardry. But after plenty of trial and error (and a few soggy bottoms along the way), I have cracked the code. This recipe is my absolute love language. It’s hearty, it’s comforting, and it makes the whole house smell like an Italian nonna is cooking up a storm. Whether you are feeding hungry teenagers, trying to impress the in-laws, or just need a comforting meal after a chaotic week of carpools and soccer practice, this Chicken Parm is a total game-changer.
We are ditching the jarred, frozen patties and going for the real deal. But don’t worry, I’ve broken it down into simple, manageable steps so you won’t be left with a sink full of dishes and a headache. Pour yourself a glass of wine, put on some Dean Martin, and let’s make some dinner magic happen!
History & Origins
While we often think of Chicken Parmesan as a quintessential Italian dish, it is actually a proud distinctively Italian-American creation! Its roots go back to the Italian diaspora in the early 20th century. In Italy, the original dish is Melanzane alla Parmigiana (Eggplant Parmesan), which features fried slices of eggplant layered with tomato sauce and cheese. Meat was a luxury in the old country, so vegetables were the star.
When Italian immigrants arrived in America, they found that meat—specifically chicken—was much more affordable and accessible than it was back home. Naturally, they adapted their beloved eggplant recipe by swapping in breaded chicken cutlets. By the 1950s, "Chicken Parm" had become a staple in restaurants and home kitchens across the United States, evolving into the cheesy, saucy masterpiece we know and love today. It’s a beautiful example of how food travels, adapts, and creates new traditions.
Why This Recipe Works
This recipe works because it focuses on texture management, which is usually where homemade Chicken Parm goes wrong. First, we use a combination of Panko breadcrumbs and traditional Italian breadcrumbs. The traditional crumbs provide that classic herby flavor and tight coverage, while the Panko adds an airy, jagged texture that stays crispy even after being topped with sauce.
Secondly, we employ the standard breading procedure (flour, egg, crumb) but with a crucial step: pounding the chicken. By pounding the breasts to an even thickness, we ensure the chicken cooks quickly and evenly without drying out before the crust burns. Finally, we don’t bake the chicken in a pool of sauce. We place the fried cutlets on the baking sheet, top them with a modest amount of sauce, and then the cheese. This technique keeps the bottom crust crispy while the cheese melts into a gooey, golden blanket on top. It’s all about ratio and heat!
Why You’ll Love This Recipe
- ✓Super crispy coating that doesn’t get soggy
- ✓Juicy, tender chicken every single time
- ✓Ready in under 45 minutes
- ✓Uses a mix of cheeses for maximum flavor
- ✓Freezer-friendly for meal prepping moms
- ✓Kid-approved and picky-eater friendly
Equipment You’ll Need
- ✓Large cast-iron skillet or heavy-bottomed frying pan
- ✓Meat mallet or rolling pin
- ✓Three shallow bowls (for dredging station)
- ✓Baking sheet or large casserole dish
- ✓Tongs
- ✓Wire cooling rack (optional but recommended)
- ✓Chef’s knife
Ingredients
- ✓2 large boneless, skinless chicken breasts (sliced in half horizontally to make 4 cutlets)
- ✓1 cup all-purpose flour
- ✓1 teaspoon salt, divided
- ✓1/2 teaspoon black pepper, freshly cracked
- ✓2 large eggs
- ✓1 tablespoon water
- ✓1 cup Panko breadcrumbs
- ✓1/2 cup Italian seasoned breadcrumbs
- ✓1/2 cup grated Parmesan cheese (for the breading)
- ✓1 teaspoon garlic powder
- ✓1 cup vegetable oil or canola oil (for frying)
- ✓24 oz jar of high-quality marinara sauce (or homemade)
- ✓8 oz fresh mozzarella cheese, sliced or shredded
- ✓1/4 cup fresh basil leaves, chopped (for garnish)
- ✓Extra grated Parmesan for topping
Instructions
- Prep the Chicken: Slice your chicken breasts in half horizontally to create four thinner cutlets. Place them between two sheets of plastic wrap and gently pound them with a meat mallet until they are an even 1/2-inch thickness. Season both sides generously with salt and pepper.
- Set Up Dredging Station: Get three shallow bowls. In the first bowl, whisk together the flour, 1/2 tsp salt, and garlic powder. In the second bowl, beat the eggs with 1 tablespoon of water. In the third bowl, mix the Panko, Italian breadcrumbs, and the 1/2 cup of grated Parmesan cheese.
- Bread the Chicken: Working one piece at a time, dredge the chicken in the flour (shake off excess), dip it fully into the egg wash, and finally press it firmly into the breadcrumb mixture to coat. Make sure those crumbs stick!
- Fry the Cutlets: Heat the oil in a large skillet over medium-high heat. You want the oil shimmering but not smoking. Fry the chicken in batches (don’t crowd the pan!) for about 3-4 minutes per side until deep golden brown and crispy. Transfer to a wire rack or paper towel-lined plate.
- Assemble: Preheat your oven to 400°F (200°C). Place the fried chicken cutlets on a baking sheet or in a large casserole dish.
- Top and Bake: Spoon about 2-3 tablespoons of marinara sauce over the center of each piece of chicken (leave the edges exposed to stay crispy!). Top generously with mozzarella slices and a sprinkle of extra Parmesan.
- Melt the Cheese: Bake for 10-12 minutes, or until the cheese is bubbly and melted. If you like browned spots on your cheese, switch the oven to broil for the last 1-2 minutes—watch it closely!
- Garnish and Serve: Remove from the oven and sprinkle immediately with fresh chopped basil. Serve warm over spaghetti or with a side salad.
Expert Cooking Tips
- ✓Don’t skip the pound: Pounding the chicken ensures it cooks evenly. If the chicken is too thick, the outside will burn before the inside is safe to eat.
- ✓Use Fresh Mozzarella: While the pre-shredded bag stuff works in a pinch, fresh mozzarella balls or logs sliced thick melt much better and give you that restaurant-quality cheese pull.
- ✓Oil Temperature: If your oil isn’t hot enough, the breading will absorb the grease and get soggy. Test it by dropping a few breadcrumbs in; if they sizzle immediately, you are good to go.
- ✓Sauce Placement: Do not drown the chicken! Keep the sauce in the middle so the crispy edges remain crunchy.
Substitutions and Variations
If you are gluten-free, simply swap the flour for a GF blend and use gluten-free breadcrumbs—it works beautifully! If you want to lighten it up, you can bake the breaded chicken on a wire rack at 400°F for 20 minutes instead of frying, though you lose a bit of that indulgent crunch. No chicken? This exact breading recipe works wonders for eggplant slices or even veal cutlets.
Common Mistakes to Avoid
The biggest mistake I see is over-saucing. We love sauce, but if you completely submerge the fried chicken, you ruin all that hard work you did frying it! Another common pitfall is crowding the pan when frying. If you put too many pieces in at once, the oil temperature drops drastically, and the chicken steams instead of searing. Patience is a virtue here, mama!
Serving Suggestions
Classic Chicken Parm begs to be served over a bed of al dente spaghetti or angel hair pasta tossed in a little extra marinara. However, if you want to keep it lighter, it is fabulous alongside some roasted broccoli, sautéed zucchini noodles, or a crisp Caesar salad. And let’s be honest, a side of garlic bread to sop up the extra sauce is non-negotiable in my house!
Storage and Reheating Tips
Leftovers can be stored in an airtight container in the refrigerator for up to 3 days. To reheat, do not use the microwave unless you like rubbery chicken! Place the chicken on a baking sheet and reheat in a 350°F oven or an air fryer for about 10 minutes until heated through and crispy again. You can also freeze the fried (but un-sauced) cutlets for up to 2 months.
Nutrition Facts (Estimated)
| Serving Size | 1 chicken breast with sauce and cheese |
| Calories | 620 kcal |
| Fat | 32g |
| Saturated Fat | 12g |
| Unsaturated Fat | 18g |
| Trans Fat | 0g |
| Cholesterol | 145mg |
| Sodium | 1100mg |
| Carbohydrates | 38g |
| Fiber | 3g |
| Sugar | 6g |
| Protein | 45g |
Frequently Asked Questions
Can I make this ahead of time?
Yes! You can bread the chicken and keep it in the fridge for up to 4 hours before frying. You can also fry the chicken, let it cool, and store it. When ready to eat, top with sauce and cheese and bake until hot.
Why is my breading falling off?
This usually happens if the chicken was too wet before dredging or the oil wasn’t hot enough. Make sure to pat the chicken dry with paper towels before dipping it in the flour.
Can I use chicken thighs?
Absolutely. Boneless, skinless chicken thighs are juicier and more forgiving. Just pound them slightly to flatten the uneven surface.
Do I have to use Panko?
You don’t have to, but Panko provides a superior crunch compared to just using fine breadcrumbs. I highly recommend the mix of both!
Is this spicy?
Not at all. If you want a kick, add some red pepper flakes to your marinara sauce or into the breadcrumb mixture.
How do I know when the chicken is done?
The internal temperature should reach 165°F (74°C). Since we fry and then bake, it usually reaches this temp easily without drying out.
Can I air fry this?
Yes! Spray the breaded chicken generously with cooking spray and air fry at 375°F for 12-15 minutes, flipping halfway. Top with cheese and melt for 2 more minutes.
What kind of oil is best for frying?
Vegetable oil, canola oil, or peanut oil are best because they have high smoke points. Olive oil can burn at high heat, so save that for salads or finishing.
Conclusion
There you have it, friends! The only Chicken Parmesan recipe you will ever need. It’s crispy, cheesy, savory, and guaranteed to earn you some major brownie points with the family. I hope this meal brings as much joy to your table as it does to mine. Don’t forget to take a picture before everyone digs in and tag me on Pinterest or Instagram—I love seeing your creations! Happy cooking!