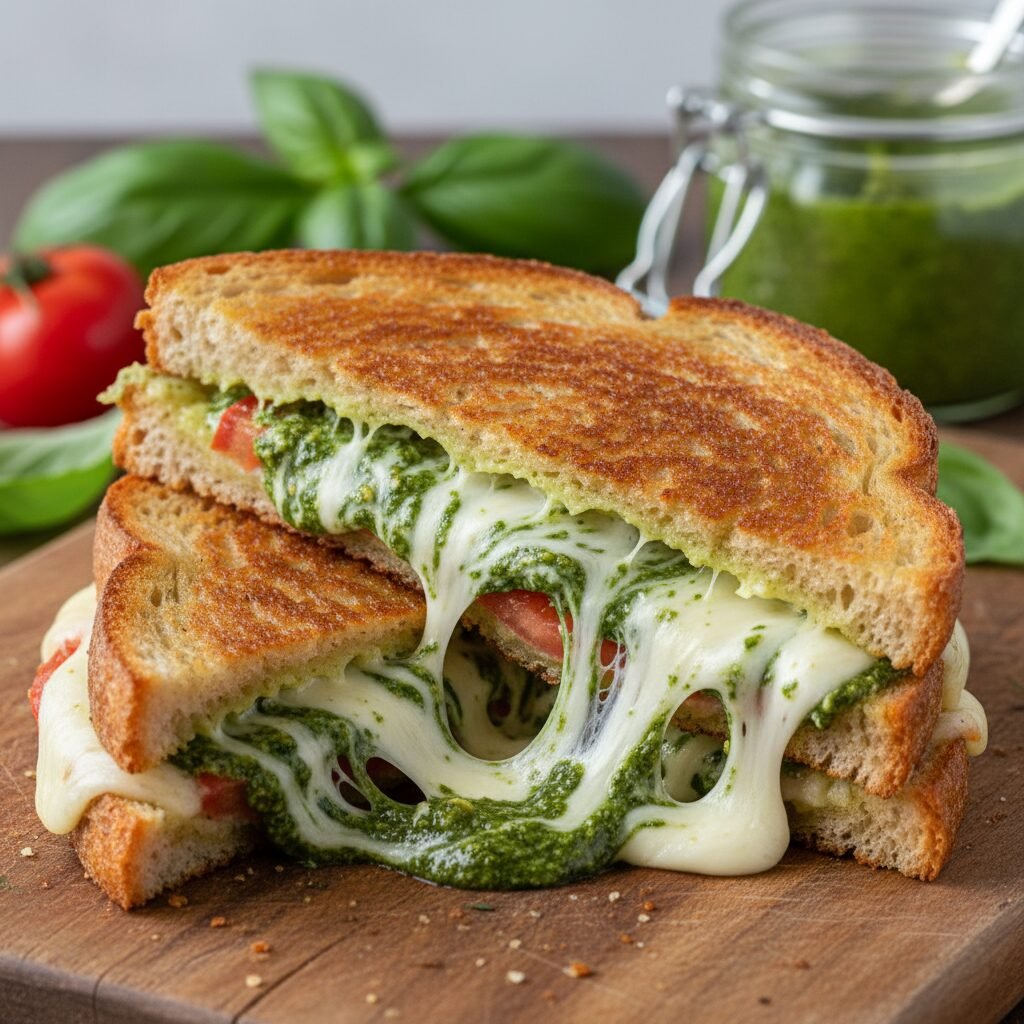
Air Fryer Pesto Grilled Cheese
Say goodbye to soggy bread and standing over a hot stove! This air fryer method creates the crunchiest golden exterior while keeping the mozzarella and savory pesto filling perfectly melted and gooey. It is a total game-changer for quick lunches.
5 minutes
8 minutes
13 minutes
2 Sandwiches
Lunch
Air Fryer
American / Italian Fusion
Vegetarian
Hey there, busy mamas! Let’s be real for a second—lunchtime can be a chaotic whirlwind. Between juggling work emails, managing the kids’ schedules, and trying to keep the house somewhat tidy, feeding ourselves often falls to the bottom of the priority list. I used to be guilty of grabbing a handful of goldfish crackers or finishing the toddler’s leftover nuggets and calling it a meal. But not anymore!
Enter the Air Fryer Pesto Grilled Cheese. This recipe has completely revolutionized my midday routine. We all know and love the classic grilled cheese; it is the ultimate comfort food that hugs your soul. But adding a layer of vibrant, garlicky basil pesto and air frying it to golden perfection? That takes it from a simple snack to a gourmet experience that feels like you ordered it from a fancy café.
The magic of the air fryer is undeniable here. Unlike the stovetop method, where you have to constantly monitor the heat to ensure the bread doesn’t burn before the cheese melts, the air fryer circulates hot air around the sandwich, creating an evenly crisp crust that shatters when you bite into it. Plus, it frees up your hands for a few minutes to wipe down the counters or—dare I say—sit down and breathe! This sandwich is gooey, crunchy, savory, and ready in a flash. Trust me, you need this in your life.
History & Origins
While the concept of bread and cheese has been a staple across cultures for centuries, the modern "grilled cheese" as we know it really gained traction in the United States during the 1920s. Back then, it was often called a "Cheese Dream"—an open-faced sandwich topped with cheese and heated until bubbly. It was an affordable, filling meal that became a superstar during the Great Depression when inexpensive processed cheese and sliced white bread became household staples.
Pesto, on the other hand, hails from the beautiful city of Genoa in the Liguria region of Italy. Traditionally made with crushed garlic, European pine nuts, coarse salt, basil leaves, and hard cheese like Parmigiano-Reggiano or Pecorino Sardo, all blended with olive oil, it is a sauce that dates back to the Roman age. The word "pesto" actually comes from the Genoese word pestâ, which means to pound or crush, referring to the mortar and pestle method originally used.
Combining these two culinary icons—the humble American grilled cheese and the aromatic Italian pesto—creates a fusion that bridges the gap between nostalgic comfort and sophisticated flavor. It represents the evolution of home cooking, where global ingredients are now pantry staples, allowing us to elevate simple dishes into something spectacular.
Why This Recipe Works
You might be wondering, "Why use an air fryer when I have a perfectly good skillet?" The answer lies in the science of convection cooking. An air fryer is essentially a powerful convection oven that circulates hot air at high speeds. When you place a buttered (or mayo-coated) sandwich inside, that rushing hot air hits the bread from all angles simultaneously.
This rapid air circulation dehydrates the surface of the bread much faster than a pan can, resulting in a Maillard reaction (browning) that is exceptionally uniform. It creates a texture that is distinctly crunchier—almost like toast but richer—without the risk of the bread absorbing too much grease, which can happen if the pan isn’t hot enough.
Furthermore, because the heat is ambient rather than direct contact only from the bottom, the cheese inside begins to melt at the same rate the bread toasts. This solves the age-old problem of burnt bread with a cold, unmelted center. The pesto adds moisture and fat (from the olive oil and nuts), which helps conduct heat within the sandwich, ensuring the cheese melts into a luxurious, stringy consistency that binds everything together.
Why You’ll Love This Recipe
- ✓Ready in under 15 minutes perfect for busy schedules.
- ✓The air fryer guarantees a flawlessly crispy crust every time.
- ✓A gourmet twist on a childhood classic that feels indulgent.
- ✓Minimal cleanup required—no greasy pans to scrub!
- ✓Easily customizable with different cheeses or add-ins like tomato.
- ✓Vegetarian-friendly and packed with fresh basil flavor.
Equipment You’ll Need
- ✓Air Fryer (Basket style or Oven style)
- ✓Butter knife or spreader
- ✓Spatula
- ✓Toothpicks (essential for keeping bread in place!)
Ingredients
- ✓4 slices of sturdy bread (Sourdough, Ciabatta, or thick-cut White)
- ✓2 tablespoons unsalted butter, softened (or high-quality Mayonnaise)
- ✓4 tablespoons Basil Pesto (store-bought or homemade)
- ✓4 slices Mozzarella cheese (or 1 cup shredded)
- ✓2 slices Provolone cheese (optional, for extra flavor depth)
- ✓1 small tomato, thinly sliced (optional)
- ✓Pinch of garlic powder (optional, for the crust)
Instructions
- Preheat the Air Fryer: Set your air fryer to 370°F (185°C). While it’s not strictly necessary for all models, preheating helps the bread sizzle immediately upon contact.
- Prep the Bread: Lay out your four slices of bread. Spread the softened butter (or mayonnaise—see my tips below!) generously on one side of each slice. This will be the outside of your sandwich.
- Assemble the Filling: Flip the bread slices over so the unbuttered side is facing up. Spread about 1 tablespoon of pesto on each slice (yes, all four slices—we want maximum flavor!).
- Layer the Cheese: On two of the slices, place a slice of mozzarella, followed by the tomato slices (if using), then the provolone, and finally another slice of mozzarella. Sandwiching the tomato or softer ingredients between cheese helps hold everything together.
- Close the Sandwich: Place the remaining bread slices on top, pesto side down, butter side up.
- Secure the Top: This is a crucial step! Stick a toothpick through the center of each sandwich. The air fryer fan is powerful and can blow the top slice of bread right off before the cheese melts to glue it down.
- Air Fry: Carefully place the sandwiches in the air fryer basket. Ensure they aren’t overlapping. Cook for 4 minutes.
- Flip and Finish: Open the basket, carefully remove the toothpicks, flip the sandwiches over, and cook for another 3-4 minutes until the bread is golden brown and the cheese is oozing out the sides.
- Cool and Serve: Remove from the air fryer and let them sit for 1-2 minutes. This helps the cheese set slightly so it doesn’t burn your mouth. Slice in half and enjoy!
Expert Cooking Tips
- ✓Mayo vs. Butter: For the ultimate crunch, try using mayonnaise instead of butter on the outside of the bread. It has a higher smoke point and spreads easier, resulting in a golden, tangy crust.
- ✓Don’t Overfill: It is tempting to load up on fillings, but too much pesto can make the bread soggy, and too much cheese will leak out entirely into the bottom of the basket.
- ✓Secure the Bread: I cannot stress this enough—use toothpicks! If you don’t have toothpicks, you can place a small, oven-safe metal rack on top of the sandwiches for the first 2 minutes of cooking.
- ✓Grate Your Own Cheese: If you are using shredded cheese instead of slices, grate it yourself from a block. Pre-shredded cheese has anti-caking agents that prevent it from melting smoothly.
- ✓Room Temperature Bread: Cold bread takes longer to crisp up. If you keep your bread in the fridge, let it sit out for a few minutes while you prep.
Substitutions and Variations
Bread: While sourdough is my absolute favorite for its structure and tang, you can use whole wheat, rye, or even a gluten-free loaf. Just make sure the GF bread is sturdy enough to handle the flip.
Cheese: Not a fan of mozzarella? Fontina, Gruyère, or a sharp white cheddar work beautifully. You can also use vegan cheese slices if you are dairy-free.
Pesto: If you have a nut allergy, look for a nut-free pesto or use a sun-dried tomato pesto (pesto rosso) for a different flavor profile. A thin layer of tapenade is also a sophisticated alternative.
Add-ins: Feel free to add cooked bacon, thin slices of ham, or spinach leaves for extra protein and nutrients.
Common Mistakes to Avoid
The most common mistake people make with air fryer grilled cheese is forgetting the toothpick. The powerful fan inside the fryer acts like a wind tunnel, and I have opened the basket many times to find my top slice of bread blown into the corner and the cheese bubbling directly on the heating element! Another mistake is cooking at too high a temperature. If you crank it up to 400°F, the bread will burn before the cheese inside has fully melted. Stick to 370°F or 375°F for that sweet spot.
Serving Suggestions
This Air Fryer Pesto Grilled Cheese is rich and savory, so it pairs perfectly with something acidic or fresh to cut through the richness. The classic pairing is, of course, a bowl of creamy tomato basil soup for dipping—it matches the tomato notes if you included them inside. A crisp arugula salad with lemon vinaigrette is also a fantastic side that lightens up the meal. If you are feeding the kiddos (or just want a treat), some sweet potato fries on the side never hurt anyone!
Storage and Reheating Tips
Grilled cheese is definitely best enjoyed fresh right out of the fryer. However, if you have leftovers, do not microwave them—they will get rubbery and sad. Store leftovers in an airtight container in the fridge for up to 2 days. To reheat, pop them back in the air fryer at 350°F for 3-4 minutes until the crust is crispy again and the cheese is warm.
Nutrition Facts (Estimated)
| Serving Size | 1 Sandwich |
| Calories | 580 kcal |
| Fat | 38g |
| Saturated Fat | 16g |
| Unsaturated Fat | 20g |
| Trans Fat | 0g |
| Cholesterol | 65mg |
| Sodium | 950mg |
| Carbohydrates | 42g |
| Fiber | 3g |
| Sugar | 3g |
| Protein | 22g |
Frequently Asked Questions
Can I use frozen bread?
Yes! You can butter frozen bread and put it straight in. You might need to add 1 extra minute to the cooking time, but it works surprisingly well.
Why is my cheese not melting?
If your bread is burning but the cheese is solid, your temperature is likely too high. Lower the heat to 350°F and cook a bit longer. Also, ensure your cheese isn’t ice cold from the fridge when you start.
Can I use parchment paper?
You can use perforated parchment paper made for air fryers, but avoid regular solid parchment as it blocks the airflow that crisps the bottom of the sandwich. I prefer placing the sandwich directly on the rack.
Is mayonnaise really better than butter?
It is a matter of preference! Mayo browns more evenly and adds a slight tang, while butter offers that classic rich dairy flavor. I suggest trying one of each to see which team you are on!
How do I clean the air fryer if cheese leaks?
If cheese drips, let the basket cool completely. Most baskets are non-stick, so the cheese should peel right off. For stubborn spots, soak in warm soapy water for 10 minutes.
Can I make this open-faced?
Absolutely! That would be a ‘cheese toastie.’ Cook at 370°F for about 4-5 minutes. You won’t need to flip it, and you won’t need a toothpick.
What kind of pesto is best?
Homemade is always the winner for freshness, but for a busy mom hack, the refrigerated fresh pesto found near the produce section is superior to the jarred shelf-stable kind.
Can I make two sandwiches at once?
Yes, as long as they fit in your basket without overlapping. If they touch or overlap, the sides won’t get crispy.
Conclusion
There you have it, friends—the easiest, most delicious lunch upgrade that will make you wonder why you ever made grilled cheese on the stove. This Air Fryer Pesto Grilled Cheese is crispy, cheesy, and packed with that fresh basil flavor that makes everything taste better. It is a recipe that proves you don’t need hours in the kitchen to make something that tastes gourmet.
If you try this recipe, please snap a photo and tag me on Instagram or leave a comment below! I love seeing your creations. And don’t forget to pin this recipe to your lunch ideas board so you can find it next time the hunger pangs strike. Happy cooking!