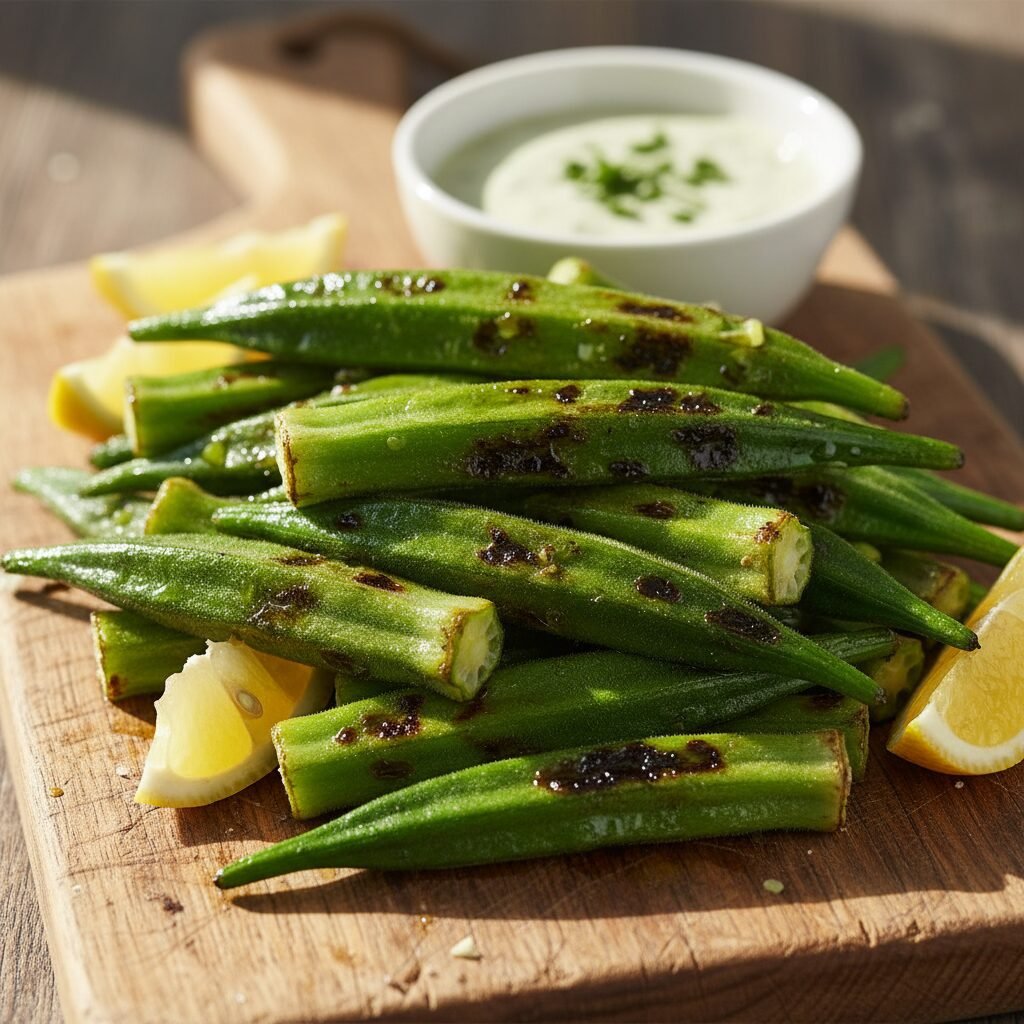
Grilled Okra
Say goodbye to slimy textures forever! This easy grilled method brings out a natural sweetness and perfect crunch that even the pickiest eaters will love. It is the ultimate healthy summer side dish.
5 minutes
10 minutes
15 minutes
4 Servings
Side Dish
Grilling
American / Southern
Vegan
Hey friends! Let’s have a heart-to-heart about the most misunderstood vegetable in the garden: Okra. I know, I know—the moment I mention it, half of you are thinking about gumbo, and the other half are thinking about that infamous "slime" factor. For years, I avoided buying it at the farmers market because I just didn’t know how to cook it without it turning into a mushy mess. But hold on, because I am about to change your mind completely!
When I first threw a batch of fresh okra pods on the grill, it was a total game-changer for my family. We went from "ew, green stuff" to literally fighting over the last pod on the platter. Grilling okra transforms it into something magical. The high heat eliminates the slime, crisps up the skin, and adds this incredible smoky flavor that makes it taste like a savory snack rather than a boring vegetable.
This recipe is my go-to for busy weeknights when we have the grill fired up for burgers or chicken. It takes less than 15 minutes, it’s packed with nutrients, and honestly, it’s just fun to eat with your hands. If you have been on the fence about okra, or if you are looking for a healthy, low-carb alternative to fries, you have to try this. Trust me, mama, this is the recipe that will convert the okra haters in your life!
History & Origins
Okra, scientifically known as Abelmoschus esculentus, has a rich and vibrant history that travels all the way from Africa to the American South. Originating in the Abyssinian center of origin (modern-day Ethiopia), it was cultivated by the ancient Egyptians and eventually made its way across the globe. It arrived in the Americas during the era of the Atlantic slave trade, bringing with it the flavors and agricultural traditions of West Africa.
In the American South, okra became a staple ingredient, celebrated in dishes like gumbo and succotash. Traditionally, it was often stewed—which highlights its thickening properties (the mucilage)—or breaded and deep-fried to combat the texture. However, grilling is a more modern preparation that has gained massive popularity recently. It respects the vegetable’s history while adapting to modern palates that prefer lighter, crispier textures without the heavy batter of frying or the thickness of stewing.
Why This Recipe Works
The science behind why grilled okra works so well comes down to moisture management and heat intensity. Okra contains mucilage, a substance that becomes gelatinous (slimy) when it comes into contact with liquid or when it is cooked slowly at low temperatures. By using a grill, we are applying intense, direct dry heat.
This high heat does two things: First, it rapidly evaporates surface moisture, preventing the okra from steaming in its own juices. Second, the charring creates the Maillard reaction, developing complex savory flavors that mask any residual vegetal bitterness. Furthermore, by keeping the pods whole and not slicing them open before cooking, we keep the mucilage contained inside the pod where it cooks down into a juicy, rather than slimy, interior texture. It creates a contrast between the snappy, charred skin and the tender inside that is absolutely addictive.
Why You’ll Love This Recipe
- ✓Completely slime-free texture
- ✓Ready in under 15 minutes
- ✓Naturally Vegan, Gluten-Free, and Keto-friendly
- ✓Smoky, charred flavor profile
- ✓Perfect way to use summer garden produce
- ✓Kid-friendly finger food
Equipment You’ll Need
- ✓Outdoor Grill (Gas or Charcoal)
- ✓Large Mixing Bowl
- ✓Long-handled Tongs
- ✓Grill Basket (Optional but helpful)
- ✓Measuring Spoons
Ingredients
- ✓1 pound fresh okra pods (about 3-4 inches long)
- ✓2 tablespoons extra virgin olive oil (or avocado oil)
- ✓1 teaspoon kosher salt
- ✓1/2 teaspoon freshly cracked black pepper
- ✓1/2 teaspoon garlic powder
- ✓1/2 teaspoon smoked paprika (optional for extra smokiness)
- ✓1/4 teaspoon cayenne pepper (optional for heat)
- ✓Lemon wedges (for serving)
Instructions
- Wash and Dry: Rinse the okra thoroughly under cool water. Here is the most critical step: Dry them completely. Use paper towels or a clean kitchen cloth to remove every drop of water. Wet okra equals steamed okra, which leads to slime!
- Prep the Pods: You can leave the stems on for a rustic handle, or trim just the very tip of the stem off. Do not cut into the pod itself, or you will release the juices.
- Season: Place the dry okra in a large mixing bowl. Drizzle with the olive oil and toss to coat evenly. Sprinkle with salt, pepper, garlic powder, smoked paprika, and cayenne (if using). Toss again until every pod is glistening with seasoning.
- Preheat: Preheat your grill to high heat (about 450°F to 500°F). You want the grates nice and hot to get that immediate sear.
- Grill: Place the okra directly on the grill grates perpendicular to the bars so they don’t fall through. Alternatively, use a grill basket. Arrange them in a single layer.
- Flip: Grill for about 4 to 5 minutes on the first side until you see nice char marks and the skin begins to blister. Flip them over using tongs and grill for another 3 to 4 minutes on the other side.
- Serve: Remove from the grill immediately. The okra should be tender-crisp with blackened spots. Squeeze fresh lemon juice over the top right before serving to brighten the flavors.
Expert Cooking Tips
- ✓Size Matters: Try to buy okra pods that are similar in size so they cook at the same rate. Smaller pods (2-3 inches) are usually more tender than the giant ones.
- ✓High Heat is Key: Don’t be afraid of the flame! You need high heat to sear the skin quickly. Low heat will just make them soft.
- ✓Don’t Overcrowd: If using a grill basket, make sure the okra is in a single layer. If they are piled on top of each other, they will steam instead of roast.
- ✓Dry, Dry, Dry: I can’t stress this enough—make sure the okra is bone dry before adding the oil. It makes a huge difference in crispiness.
Substitutions and Variations
If you don’t have a specific ingredient on hand, don’t worry! This recipe is super forgiving. You can swap olive oil for avocado oil or even melted coconut oil if you prefer. If you aren’t a fan of smoked paprika, try using cumin or chili powder for a Tex-Mex vibe. For a savory, cheesy twist without the dairy, sprinkle some nutritional yeast on right after grilling. And if you don’t have a grill, you can achieve similar results using a cast-iron skillet on high heat on your stovetop!
Common Mistakes to Avoid
The biggest mistake people make is slicing the okra before grilling. Cutting the okra exposes the interior mucilage, which will drip out and potentially cause flare-ups or just a slimy texture. Keep them whole! Another common error is undercooking. You really want to see those dark char marks; that is where the flavor lives. Lastly, avoid salting too early if you aren’t ready to cook immediately, as salt draws out moisture. Season right before they hit the grill.
Serving Suggestions
Grilled okra is incredibly versatile! I love serving it as a side dish alongside grilled ribeye steaks, BBQ chicken thighs, or veggie burgers. It also makes for a fantastic appetizer on its own—try pairing it with a dipping sauce like a spicy remoulade, garlic aioli, or even just simple ranch dressing. For a complete Southern meal, serve it with some cornbread and black-eyed peas.
Storage and Reheating Tips
Grilled okra is definitely best enjoyed fresh off the grates while it is still crispy. However, if you have leftovers, store them in an airtight container in the refrigerator for up to 3 days. To reheat, do not microwave them (they will get rubbery). Instead, pop them in an air fryer at 350°F for 3-4 minutes or under the oven broiler to bring back some of that texture.
Nutrition Facts (Estimated)
| Serving Size | 1 cup |
| Calories | 85 |
| Fat | 5g |
| Saturated Fat | 1g |
| Unsaturated Fat | 4g |
| Trans Fat | 0g |
| Cholesterol | 0mg |
| Sodium | 250mg |
| Carbohydrates | 8g |
| Fiber | 4g |
| Sugar | 2g |
| Protein | 2g |
Frequently Asked Questions
Is grilled okra slimy?
Not if you cook it correctly! The high heat of the grill evaporates the moisture that causes slime. Keeping the pods whole also helps contain the texture inside, leaving the outside crisp.
Do I need to cut the tops off the okra?
It is optional. I prefer to leave the stems on because they act as a little handle for eating, especially if serving as finger food. If you do trim them, be careful not to cut into the pod itself.
Can I use frozen okra for grilling?
I do not recommend it. Frozen okra has a much higher water content and tends to be softer. It is difficult to get a crispy exterior with frozen pods; they work better for stews.
How do I choose the best okra at the store?
Look for bright green pods that are firm and free of blemishes. Smaller pods (under 4 inches) are generally more tender and less fibrous than the very large ones.
What if I don’t have an outdoor grill?
No problem! You can use a cast-iron grill pan on your stove. Get it smoking hot and follow the same instructions. You can also roast them in the oven at 450°F on a wire rack.
Is this recipe spicy?
Only if you add the cayenne pepper! Without it, the recipe is savory and smoky but not hot. Feel free to adjust the spice level to your family’s taste.
Why is my okra tough or woody?
If the okra is tough to chew, the pod was likely too old or large when harvested. Look for smaller, younger pods for the best texture.
Can I marinate the okra beforehand?
You can, but don’t marinate for too long (15-20 minutes max) as the acid or salt in a marinade might start to draw out moisture and create slime before cooking.
Conclusion
There you have it, mamas! The absolute best way to enjoy okra without the fuss or the slime. I hope this recipe encourages you to pick up a bag of okra next time you are at the market. It is such a nutritious, delicious, and easy side dish that screams summer. If you try this recipe, please snap a photo and tag me on Instagram or Pinterest—I love seeing your creations! Fire up that grill and enjoy!