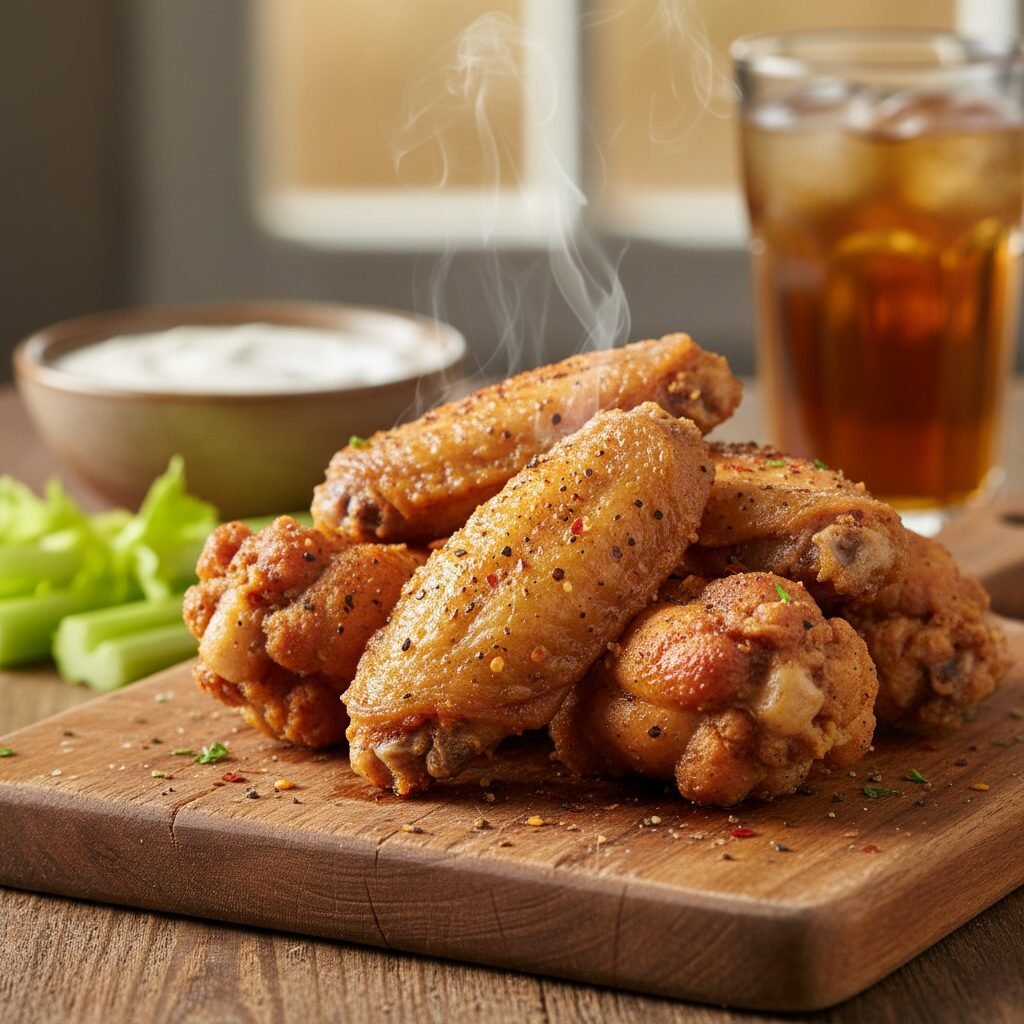
Air Fryer Chicken Wings
If you thought you needed a vat of hot oil to get restaurant-quality wings, think again! These air fryer wings are a total game-changer—crispy skin, tender meat, and zero mess. They are my absolute go-to for busy weeknights and Sunday football parties alike.
5 minutes
20 minutes
25 minutes
4 Servings
Appetizer / Dinner
Air Fryer
American
Gluten Free
Hey there, mamas! Let’s have a little heart-to-heart about chicken wings. We all love them, right? There is just something about that satisfying crunch followed by juicy, tender meat that screams ‘comfort food.’ But let’s be real for a second—making them at home used to be a total nightmare. I remember the days of dragging out the heavy Dutch oven, buying gallons of expensive oil, and standing over a hot stove while grease splattered all over my clean backsplash (and my favorite shirt!). And let’s not even talk about how the house smelled like a fast-food joint for three days afterward. No thank you!
Enter the holy grail of kitchen appliances: the Air Fryer. When I first tried making wings in my air fryer, I was skeptical. Could they really get that crispy without the oil bath? The answer, my friends, is a resounding YES. In fact, I will go on record saying these are better than deep-fried wings. They are lighter, less greasy, and you can actually taste the chicken and spices rather than just oil.
This recipe has become a staple in our household. Whether it is a chaotic Tuesday night where I need dinner on the table in 30 minutes, or we are hosting a rowdy crowd for the Super Bowl, these wings never fail. Plus, they are naturally low-carb and keto-friendly, so I don’t feel guilty sneaking a few extra pieces. I am going to share my secret ‘magic dust’ ingredient that guarantees that shatteringly crisp skin every single time. Grab your aprons, ladies, because we are about to change your wing game forever!
History & Origins
While we are here for the modern magic of air frying, it is fun to look back at how this humble dish became an American icon. The story goes that the original ‘Buffalo Wing’ was invented in 1964 at the Anchor Bar in Buffalo, New York. Teressa Bellissimo needed a late-night snack for her son and his friends, so she deep-fried some leftover wings (which were usually used for soup stock back then) and tossed them in hot sauce. The rest, as they say, is history.
For decades, the only way to get that authentic experience was deep frying. It wasn’t until the mid-2000s and 2010s, when air frying technology began to penetrate the home market, that we saw a revolution in how we cook comfort food. The air fryer works by circulating super-heated air around the food, mimicking the result of hot oil. It essentially ‘fries’ the food in its own rendered fat. This method has transformed the chicken wing from a guilty pleasure restaurant treat into a healthy, accessible home-cooked meal that busy moms can whip up in minutes.
Why This Recipe Works
You might be wondering, ‘How does hot air make skin crispy?’ It comes down to two main factors: High-Velocity Convection and the Baking Powder Hack.
First, the air fryer is essentially a powerful convection oven. The fan blows intense heat directly onto the chicken skin, which rapidly evaporates surface moisture and renders out the subcutaneous fat. As the fat renders, it bastes the skin, frying it from the outside in.
Second, and this is the science-y part that makes a huge difference: Aluminum-Free Baking Powder. Do not confuse this with baking soda (which tastes metallic)! Baking powder is alkaline. When you toss the wings in it, it raises the pH level of the chicken skin. This breaks down the peptide bonds in the skin, allowing it to brown and crisp up much faster and more evenly. It also creates tiny micro-bubbles on the surface that harden into a crunchy texture, mimicking the batter of a fried wing without any actual flour or gluten. It is a culinary miracle!
Why You’ll Love This Recipe
- ✓Ready in under 30 minutes
- ✓Uses 95% less oil than deep frying
- ✓Keto, Low-Carb, and Gluten-Free friendly
- ✓Zero grease splatter to clean up
- ✓Impossibly crispy skin with juicy meat
- ✓Customizable with any sauce you love
Equipment You’ll Need
- ✓Air Fryer (Basket or Oven Style)
- ✓Large Mixing Bowl
- ✓Kitchen Tongs
- ✓Paper Towels
- ✓Measuring Spoons
- ✓Meat Thermometer
Ingredients
- ✓2 lbs Chicken Wings (flats and drumettes separated)
- ✓1 tbsp Aluminum-Free Baking Powder (CRITICAL: Do NOT use baking soda)
- ✓1 tsp Sea Salt
- ✓1/2 tsp Black Pepper
- ✓1 tsp Garlic Powder
- ✓1 tsp Smoked Paprika
- ✓1 tbsp Olive Oil or Avocado Oil (optional, for binding)
- ✓Non-stick cooking spray
- ✓Optional: Buffalo sauce, BBQ sauce, or Ranch for serving
Instructions
- Pat Dry: Remove the chicken wings from the package and lay them out on a layer of paper towels. Use more paper towels to pat them completely dry. Note: This is the most important step! Moisture is the enemy of crispiness.
- Mix Seasoning: In a small bowl, combine the baking powder, salt, pepper, garlic powder, and smoked paprika.
- Coat the Wings: Place the dry wings in a large bowl (or a large Ziploc bag). Drizzle with a tiny bit of olive oil if desired (helps the spices stick, but not strictly necessary). Sprinkle the seasoning mixture over the wings and toss vigorously until every wing is evenly coated in the dust.
- Preheat: Preheat your air fryer to 400°F (200°C) for about 2-3 minutes.
- Arrange: Spray the air fryer basket lightly with cooking spray. Arrange the wings in a single layer in the basket. Do not overlap them! If they are touching, they will steam instead of crisp. You may need to cook in two batches depending on the size of your fryer.
- Cook: Air fry at 400°F (200°C) for 10 minutes.
- Flip: Open the basket, flip the wings over with tongs, and cook for another 8-10 minutes. The skin should be golden brown and bubbly.
- Rest & Toss: Remove the wings and let them rest on a wire rack for 2 minutes (this helps the crust set). Toss in your favorite sauce immediately before serving, or serve the sauce on the side for maximum crunch.
Expert Cooking Tips
- ✓Dryness is Key: I cannot stress this enough—if your wings are wet, they won’t get crispy. Pat them dry until the paper towel comes away clean.
- ✓Don’t Crowd the Pan: Air fryers need airflow to work. If you stack the wings, you’ll end up with soggy chicken. Cook in batches if you have to!
- ✓Baking Powder vs. Soda: Double-check your label. Baking Soda will make your wings taste bitter and metallic. You must use Baking Powder.
- ✓Shake the Basket: If you don’t want to flip each wing individually, give the basket a vigorous shake halfway through cooking.
- ✓Sauce Last: If you love crispy wings, do not cook them in the sauce. Cook them dry, then toss in sauce right before eating.
Substitutions and Variations
We all have those moments where we open the pantry and realize we are missing something! Here are some easy swaps:
- Baking Powder: If you are out, you can use Cornstarch. It won’t be quite as bubbly-crisp, but it still creates a nice crust. Use 1 tablespoon per pound of chicken.
- Spice Rub: Feel free to get creative! Lemon pepper, Cajun seasoning, or Old Bay are fantastic alternatives to the garlic/paprika mix. Just watch the salt content if using a pre-mixed blend.
- Oil: Any high-heat oil works. Avocado oil spray is my favorite, but canola or vegetable oil works too. Avoid butter for the actual cooking process as it burns at high temps.
Common Mistakes to Avoid
The biggest mistake I see people make is overcrowding the basket. I know, I know, you want to get dinner done fast! But piling the wings on top of each other prevents the hot air from circulating, resulting in pale, flabby skin. Another common oopsie is skipping the pat-dry step. If the wings go in wet, the air fryer has to waste energy evaporating that water before it can start crisping the skin. Take the extra 2 minutes to dry them thoroughly—it makes a world of difference!
Serving Suggestions
These wings are the star of the show, but every star needs a supporting cast! I love serving these on a big wooden board with:
- Classic Veggies: Crisp celery sticks and carrot batons are a must to cut through the richness.
- Dips: Homemade Ranch or Blue Cheese dressing.
- Sauces: I usually put out a ‘sauce bar’ with Buffalo, Honey BBQ, and a Garlic Parmesan butter so everyone can choose their own adventure.
- Sides: If this is dinner, pair it with some sweet potato fries or a fresh cucumber salad.
Storage and Reheating Tips
Got leftovers? Lucky you! Store them in an airtight container in the fridge for up to 3 days. Do not microwave them to reheat! The microwave will turn them into rubber. Instead, pop them back into the air fryer at 375°F for 3-5 minutes. They will crisp right back up and taste almost as good as fresh.
Nutrition Facts (Estimated)
| Serving Size | 6 wings |
| Calories | 280 kcal |
| Fat | 18g |
| Saturated Fat | 5g |
| Unsaturated Fat | 11g |
| Trans Fat | 0g |
| Cholesterol | 95mg |
| Sodium | 350mg |
| Carbohydrates | 1g |
| Fiber | 0g |
| Sugar | 0g |
| Protein | 24g |
Frequently Asked Questions
Can I use frozen wings?
Yes, you can! However, for the best crispiness, I recommend thawing them first. If you must cook from frozen, add 5-7 minutes to the cooking time and drain the liquid from the basket halfway through.
Why is my air fryer smoking?
Chicken wings have a lot of fat, and when that fat drips onto the hot heating element or pan, it can smoke. To prevent this, add a small piece of bread or a tablespoon of water to the bottom drawer of the air fryer to catch the grease.
Can I stack the wings?
Please don’t! Stacking blocks the airflow. Single layer is the golden rule of air frying.
Do I need to put flour on the wings?
Nope! The baking powder provides enough texture. Flour can sometimes taste powdery if not sprayed with enough oil in an air fryer.
What if I don’t have baking powder?
You can skip it and just use spices, or swap it for cornstarch. They will still be delicious, just slightly less ‘shatteringly’ crisp.
How do I know when they are done?
The internal temperature should reach 165°F (74°C). However, for wings, I actually like to cook them to about 175°F-180°F so the meat pulls away from the bone easily.
Can I use this recipe for drumsticks?
Absolutely! You will just need to increase the cooking time by about 10-15 minutes since drumsticks are thicker.
Is this recipe keto?
Yes! As long as you don’t toss them in a sugary BBQ sauce, these dry-rubbed wings are perfectly keto and low-carb.
Conclusion
There you have it, friends! The secret to the crispiest, most delicious wings of your life without the guilt of the deep fryer. I promise, once you try this method, you will never go back to soggy takeout wings again. It is fast, easy, and undeniably delicious—everything a busy mom needs in a recipe.
If you try these, please snap a picture and tag me on Instagram or Pinterest! I love seeing your creations. And don’t forget to let me know in the comments what your favorite dipping sauce is. Happy cooking!