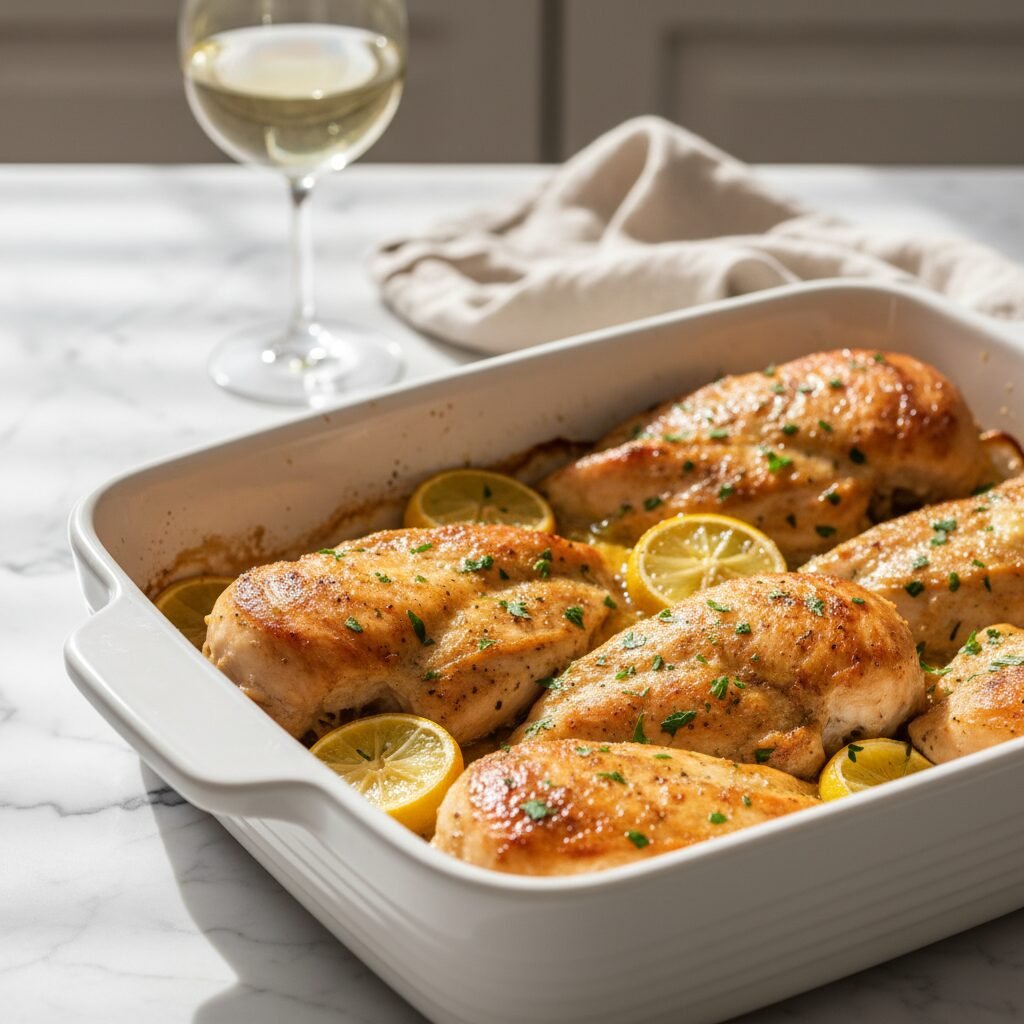
Baked Lemon Pepper Chicken
Say goodbye to dry, boring chicken forever! This Baked Lemon Pepper Chicken is exploding with fresh zest, buttery garlic goodness, and is ready in just under 30 minutes. It is the absolute hero of my weekly meal rotation.
10 minutes
25 minutes
35 minutes
4 Servings
Dinner
Baking
American
Gluten Free
Hey there, busy mamas! Let’s have a real talk for a second. Is there anything more daunting than staring into the refrigerator at 5:00 PM, with hungry kids hanging off your legs, wondering, "What on earth am I going to make for dinner?" We have all been there. You want something healthy, you want something fast, but most importantly, you want something that won’t result in a table full of complaints.
Enter my absolute favorite kitchen savior: Baked Lemon Pepper Chicken. This isn’t just any chicken recipe; it is a bright, sunny burst of flavor that tastes like you spent hours marinating, even though it comes together in minutes. I used to be terrified of baking chicken breasts because they so often turn out like rubbery shoe leather (yuck!). But after years of testing and tweaking in my own kitchen, I have cracked the code to the juiciest, most tender chicken breast you will ever sink your teeth into.
The secret lies in a specific combination of fresh lemon zest, a high-quality fat source (we love butter and olive oil!), and the right oven temperature. The smell alone—zesty lemon and roasted garlic wafting through the house—is enough to bring everyone running to the table. Plus, it is naturally low-carb and gluten-free, so it fits into almost any diet plan you might be following. Grab your apron, pour yourself a glass of white wine (optional, but encouraged!), and let’s get cooking!
History & Origins
Lemon pepper seasoning has been a pantry staple in American kitchens for decades, but its roots are a bit of a delicious mystery. While mixing citrus with black pepper is a culinary practice that dates back centuries in Indian and Middle Eastern cuisines to preserve meats and mask gamey flavors, the specific "Lemon Pepper" seasoning we know and love became iconic in the United States around the mid-20th century.
It gained massive popularity in deli culture and Southern cooking, often used on wings and catfish. However, the transition to a baked chicken breast staple really took off during the health-conscious waves of the 80s and 90s. Home cooks were looking for ways to make lean poultry taste exciting without deep frying it. Over time, we moms have refined the method. We moved away from just shaking dry powder on a bird and started incorporating fresh juice, zest, and butter to create a sauce that keeps the meat moist. This recipe is a modern homage to those classic flavors, elevated with fresh ingredients for a gourmet touch.
Why This Recipe Works
If you have ever suffered through dry chicken, you might be skeptical about baking breasts. Here is the science behind why this specific method works so perfectly. First, we use acid (lemon juice). The acidity in the lemon juice acts as a natural tenderizer, breaking down the tough muscle fibers in the chicken breast before it even hits the heat. However, acid alone can tough meat if left too long, which is why we bake it in a sauce rather than marinating it overnight.
Second, we create an emulsion of fats. By using both olive oil and melted butter, we get the best of both worlds: the high smoke point of the oil and the rich, creamy flavor of the butter. This fat coats the protein, creating a barrier that locks moisture inside while the chicken cooks. Finally, the high-heat baking method (400°F) sears the outside quickly, ensuring the chicken cooks through without drying out in a slow oven. It is a foolproof trifecta of culinary science!
Why You’ll Love This Recipe
- ✓Ready in under 35 minutes
- ✓Uses simple pantry staples
- ✓High protein and low carb (Keto friendly)
- ✓Kid-approved (not too spicy!)
- ✓Minimal cleanup required
- ✓Bursting with fresh citrus flavor
Equipment You’ll Need
- ✓9×13 Baking Dish
- ✓Meat Mallet (or heavy rolling pin)
- ✓Small Mixing Bowl
- ✓Whisk
- ✓Zester or Microplane
- ✓Meat Thermometer
- ✓Parchment Paper (optional for easy cleanup)
Ingredients
- ✓4 large boneless, skinless chicken breasts (approx. 6-7 oz each)
- ✓2 tablespoons olive oil
- ✓2 tablespoons unsalted butter, melted
- ✓1 tablespoon lemon pepper seasoning (low sodium preferred)
- ✓1 teaspoon garlic powder
- ✓1/2 teaspoon onion powder
- ✓1/2 teaspoon salt (adjust based on your seasoning blend)
- ✓1 large fresh lemon (zested and juiced, plus slices for garnish)
- ✓1 tablespoon fresh parsley, chopped (for garnish)
- ✓1/2 teaspoon paprika (for color)
Instructions
- Preheat and Prep: Preheat your oven to 400°F (200°C). Lightly grease a 9×13 baking dish with non-stick spray or a drizzle of olive oil. This high heat is crucial for sealing in juices!
- Pound the Chicken: This is the most important step! Place your chicken breasts between two sheets of plastic wrap or parchment paper. Use the flat side of a meat mallet to pound them to an even thickness (about 3/4 inch thick). This ensures they cook evenly so one end isn’t dry while the other is raw.
- Make the Sauce: In a small bowl, whisk together the melted butter, olive oil, lemon juice, lemon zest, lemon pepper seasoning, garlic powder, onion powder, salt, and paprika until well combined.
- Season the Meat: Pat the chicken breasts dry with paper towels (this helps the sauce stick). Place them in the prepared baking dish. Pour the sauce mixture over the chicken, using a brush or your hands to ensure every nook and cranny is coated.
- Bake: Place lemon slices around or on top of the chicken for extra aroma. Bake in the preheated oven for 20-25 minutes. Cooking time depends on the thickness of your chicken.
- Check Temp & Broil: Use a meat thermometer to check the internal temperature. You want to pull it out when it hits 160°F-162°F. Switch the oven to ‘Broil’ and cook for another 2-3 minutes until the tops are golden and slightly bubbly.
- Rest and Serve: Remove from the oven and tent loosely with foil. Let the chicken rest for at least 5-10 minutes. The residual heat will bring the temp up to the safe 165°F, and the juices will redistribute. Garnish with fresh parsley and serve!
Expert Cooking Tips
- ✓Don’t skip the pounding! Uneven chicken breasts are the #1 reason for dry meat. Pounding them flat ensures they cook at the same rate.
- ✓Fresh is best. Please, I beg you, do not use the bottled lemon juice for this. The flavor difference using a real, fresh lemon is night and day.
- ✓Watch the salt. Many store-bought lemon pepper seasonings are very salty. Taste your seasoning first before adding extra salt to the recipe.
- ✓Let it rest. Cutting into the chicken immediately after taking it out of the oven lets all the juices run out onto the plate. Give it 5 minutes to relax!
- ✓Room temp chicken. If you can, take the chicken out of the fridge 15 minutes before cooking. Cold chicken entering a hot oven can seize up and become tough.
Substitutions and Variations
We all have those moments where we are missing one ingredient, right? Don’t worry, this recipe is flexible!
- Chicken Thighs: You can absolutely use boneless, skinless chicken thighs. They are naturally juicier but may need an extra 5-10 minutes in the oven.
- Dairy-Free: Swap the butter for extra olive oil or melted ghee to make this Whole30 and Paleo compliant.
- DIY Seasoning: No lemon pepper in the pantry? Mix cracked black pepper, lemon zest, and a pinch of salt. It works in a pinch!
- Garlic: If you don’t have powder, 2 cloves of fresh minced garlic whisked into the sauce is divine.
Common Mistakes to Avoid
The biggest mistake people make with this recipe is overcooking the chicken. Chicken breast is unforgiving. Once it goes past 165°F, it starts to dry out rapidly. Invest in a cheap digital meat thermometer—it will change your life! Another common mistake is using bottled lemon juice. It often contains preservatives that give the dish a metallic, artificial taste. Stick to the real fruit! Lastly, overcrowding the pan can cause the chicken to steam rather than roast. Make sure there is a little breathing room between the breasts.
Serving Suggestions
This chicken is so versatile it goes with almost anything! For a classic comfort meal, I love serving it over buttery mashed potatoes or garlic herb rice pilaf to soak up that extra lemon sauce. If you are keeping things low-carb, try it with roasted asparagus, steamed broccoli, or cauliflower rice. It is also fantastic sliced up cold the next day and thrown on top of a big Caesar salad for lunch!
Storage and Reheating Tips
Fridge: Store leftovers in an airtight container for up to 3-4 days. It is great for meal prep!
Freezer: You can freeze the cooked chicken for up to 3 months. Thaw overnight in the fridge before reheating.
Reheating: To prevent it from drying out, reheat in the oven at 350°F with a splash of chicken broth or water, covered with foil. Avoid the microwave if possible, as it tends to make chicken rubbery.
Nutrition Facts (Estimated)
| Serving Size | 1 chicken breast |
| Calories | 285 |
| Fat | 14g |
| Saturated Fat | 5g |
| Unsaturated Fat | 8g |
| Trans Fat | 0g |
| Cholesterol | 105mg |
| Sodium | 450mg |
| Carbohydrates | 3g |
| Fiber | 1g |
| Sugar | 1g |
| Protein | 36g |
Frequently Asked Questions
Why is my chicken rubbery?
Rubbery chicken is usually a sign of overcooking. Chicken breast is very lean, so if it cooks too long, the fibers tighten up. Use a meat thermometer and pull it out right at 160°F-162°F; carry-over cooking will finish the job.
Can I use bone-in chicken?
Yes! Bone-in, skin-on chicken breasts (split breasts) are delicious. However, they will take longer to cook—usually 35-45 minutes at 400°F.
Is lemon pepper seasoning spicy?
Generally, no. It has a ‘zing’ from the pepper, but it isn’t ‘hot’ like chili powder. Most kids handle it just fine, but if you have very sensitive toddlers, you can reduce the amount of seasoning.
Can I marinate this overnight?
I wouldn’t recommend marinating for more than 2 hours. Because of the high acidity in the lemon juice, marinating too long can actually start to ‘cook’ the texture of the meat, making it mushy or tough.
Do I have to use butter?
Not strictly, but the butter adds a richness that balances the acidity of the lemon. If you need to avoid dairy, use a high-quality olive oil or avocado oil instead.
How do I get the nice color on top?
The paprika in the recipe helps with color, but the real trick is the broil step at the end. 2-3 minutes under the broiler gives you that appetizing golden-brown finish.
Can I make this in an Air Fryer?
Absolutely! Cook at 375°F for about 12-15 minutes, flipping halfway through. Check the internal temp to ensure doneness.
What is the best brand of lemon pepper?
I personally love McCormick or Mrs. Dash (for a salt-free option), but Trader Joe’s also makes a fantastic Lemon Pepper blend that comes in a grinder.
Conclusion
I hope your family loves this Baked Lemon Pepper Chicken as much as mine does! It really is one of those "back pocket" recipes that saves the day when you are short on time but crave something homemade and delicious. The combination of zesty lemon, aromatic pepper, and juicy chicken is just unbeatable.
If you try this recipe, please snap a photo and tag me on Instagram or leave a comment below! I love seeing your creations. Don’t forget to pin this recipe to your "Easy Weeknight Dinners" board on Pinterest so you can find it whenever you need a quick meal win. Happy cooking, mamas!