Easy Chicken Pot Pie
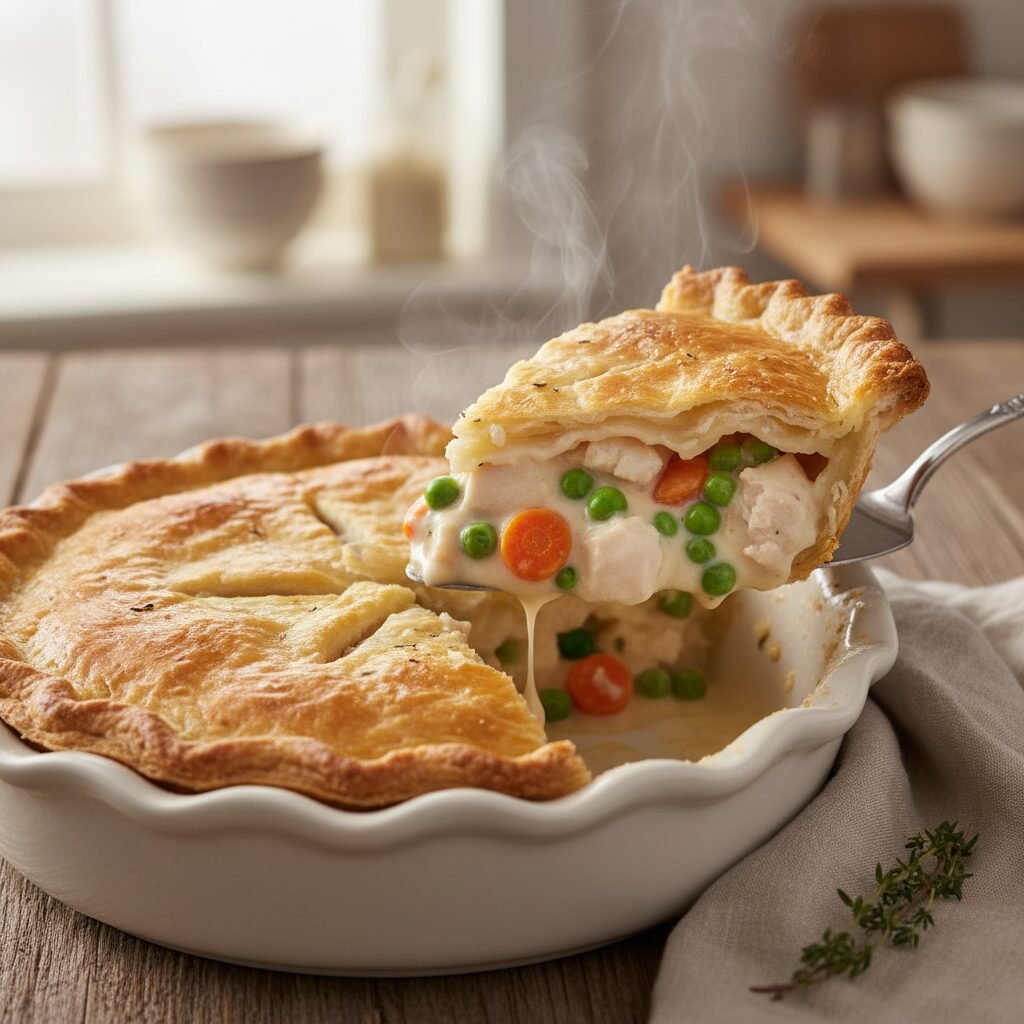
Imagine a golden, flaky crust breaking open to reveal a creamy, bubbling filling loaded with tender chicken and veggies. This is the meal that brings everyone running to the table, and the best part? It is surprisingly easy to make from scratch!
15 minutes
40 minutes
55 minutes
6 servings
Dinner
Baking
American
Non-Vegetarian
Hey there, busy mamas! Let’s talk about that 5:00 PM panic. You know the one—where you stare into the fridge hoping a gourmet meal will magically assemble itself? We have all been there. But today, I am sharing my absolute secret weapon for those nights when you need a warm, comforting hug in a bowl (or rather, a pie dish): Easy Chicken Pot Pie.
There is something incredibly nostalgic about chicken pot pie. It is one of those timeless dishes that just screams home. The smell of buttery crust baking in the oven, the savory aroma of thyme and onions filling the kitchen… it is enough to make anyone forget about the chaotic day they just had. I remember my grandmother making this on Sundays, and now, it has become a staple in my own home. My kids—who can be notoriously picky about vegetables—absolutely devour this. I’m telling you, hiding peas and carrots in a creamy sauce under a blanket of pastry is a mom hack that never fails!
What I love most about this specific recipe is that it strikes the perfect balance between homemade and ‘I do not have time for this.’ We are using a few smart shortcuts (hello, rotisserie chicken and refrigerated pie crusts!) to cut the prep time in half without sacrificing that made-from-scratch flavor. It is hearty, it is filling, and it warms you from the inside out. So, grab your apron and let’s get cooking!
History & Origins
Believe it or not, the concept of the pot pie has been around since the Roman Empire, where they would serve meats in open pastry shells during banquets. However, the pot pie as we know it really started to take shape in the 16th century in England. Back then, they were often called ‘coffin’ pies—a slightly morbid name for the rectangular, casket-shaped crusts used to hold the filling! These early versions were often filled with a variety of meats, including venison and poultry.
When settlers came to America, they brought their pie recipes with them. Over time, the dish evolved. In the United States, chicken pot pie became a way to repurpose leftovers, ensuring that nothing went to waste—a philosophy that resonates with every thrifty mom today! By the mid-20th century, frozen pot pies became a convenient staple in American freezers, but let’s be honest: nothing beats the homemade version. Today, it stands as a pillar of American comfort food, representing warmth, family, and resourcefulness.
Why This Recipe Works
You might be wondering, ‘Why should I make the filling from scratch if I am buying the crust?’ The answer lies in the sauce. Canned soups or jarred gravies often contain preservatives and lack that rich, velvety texture that you get from a simple homemade roux. By sautéing onions in butter and whisking in flour, we create a base that thickens the chicken broth and milk into a luxurious gravy that coats every single vegetable and piece of chicken perfectly.
Furthermore, this recipe works because of the texture contrast. We use a combination of creamy sauce, tender (but not mushy) vegetables, and a crisp, flaky crust. Pre-cooking the onion and using a high oven temperature ensures the filling is hot and bubbling right as the crust turns golden brown, preventing that dreaded soggy bottom. Using rotisserie chicken not only saves time but also adds a depth of roasted flavor that boiled chicken breast just cannot compete with.
Why You’ll Love This Recipe
- ✓Ready in under an hour using smart shortcuts.
- ✓A perfect way to use up leftover rotisserie chicken.
- ✓Kid-friendly: A great way to sneak in veggies.
- ✓Freezer-friendly: Make two and freeze one for later!
- ✓Uses simple pantry staples you likely already have.
- ✓The ultimate comfort food for chilly nights.
Equipment You’ll Need
- ✓9-inch Pie Dish
- ✓Large Skillet or Dutch Oven
- ✓Whisk
- ✓Measuring Cups and Spoons
- ✓Sharp Knife
- ✓Pastry Brush (for egg wash)
- ✓Baking Sheet (to catch drips)
- ✓Pie Shield or Aluminum Foil
Ingredients
- ✓1 box (14.1 oz) refrigerated pie crusts (2 crusts), softened as directed on box
- ✓1/3 cup unsalted butter
- ✓1/3 cup all-purpose flour
- ✓1/3 cup yellow onion, chopped
- ✓1/2 teaspoon salt (plus more to taste)
- ✓1/4 teaspoon black pepper
- ✓1/4 teaspoon dried thyme (or 1 tsp fresh thyme leaves)
- ✓1/4 teaspoon garlic powder
- ✓1 3/4 cups chicken broth (low sodium preferred)
- ✓2/3 cup whole milk or half-and-half
- ✓2 1/2 cups shredded cooked chicken (rotisserie works best)
- ✓2 cups frozen mixed vegetables (peas, carrots, corn, green beans), thawed
- ✓1 large egg (for egg wash)
- ✓1 tablespoon water (for egg wash)
Instructions
- Preheat and Prep: Preheat your oven to 425°F (220°C). While the oven heats, take your pie crusts out of the fridge to let them soften slightly. Place one crust into the bottom of an ungreased 9-inch glass pie dish. Press it firmly against the bottom and sides.
- Sauté Aromatics: In a large skillet or saucepan, melt the 1/3 cup butter over medium heat. Add the chopped onion, salt, pepper, thyme, and garlic powder. Cook for about 2-3 minutes until the onion is soft and translucent.
- Make the Roux: Stir in the 1/3 cup flour until it is well blended with the butter and onions. Cook, stirring constantly, for 1 minute. This cooks out the raw flour taste and ensures your sauce will be silky smooth.
- Create the Sauce: Gradually whisk in the chicken broth and milk. Keep whisking to prevent lumps! Cook over medium heat, stirring constantly, until the mixture bubbles and thickens significantly. This usually takes about 4-5 minutes. It should look like a thick gravy.
- Add Filling: Remove the skillet from the heat. Stir in the shredded chicken and the mixed vegetables. Taste the filling carefully (it will be hot!) and add a pinch more salt or pepper if needed.
- Assemble the Pie: Pour the hot chicken mixture into the crust-lined pie plate. Top with the second pie crust. Seal the edges of the two crusts together and flute them with your fingers or press with a fork.
- Vent and Wash: Cut several slits in the top crust to allow steam to escape. In a small bowl, beat the egg with 1 tablespoon of water. Brush this egg wash lightly over the top crust—this is the secret to that glossy, golden-brown finish!
- Bake: Place the pie on a baking sheet (to catch any spills) and bake for 30 to 40 minutes. The crust should be golden brown and the filling should be bubbling through the slits.
- Cool and Serve: Let the pie stand for at least 15-20 minutes before cutting. This is crucial! If you cut it too soon, the filling will run out. Letting it rest allows the sauce to set up perfectly.
Expert Cooking Tips
- ✓The Egg Wash: Do not skip the egg wash! It gives the pie that professional, bakery-style sheen and helps the crust brown evenly.
- ✓Crust Protection: If the edges of your crust are browning too quickly before the center is done, cover the edges with a pie shield or strips of aluminum foil for the last 15 minutes of baking.
- ✓Thaw Veggies: Make sure your frozen veggies are thawed and drained before adding them to the sauce to prevent the filling from becoming watery.
- ✓Rotisserie Hack: Using a store-bought rotisserie chicken saves about 20 minutes of cooking time and adds great flavor. Just shred it while the oven preheats!
- ✓Blind Baking: If you absolutely hate soggy bottoms, you can blind bake the bottom crust for 5-7 minutes before adding the filling, but with this thick sauce, it is usually not necessary.
Substitutions and Variations
Cooking is all about flexibility, right? If you don’t have chicken, you can easily swap it for leftover turkey—this is actually my favorite post-Thanksgiving meal! For a vegetarian version, simply omit the meat, double the veggies (mushrooms work great here for texture), and use vegetable broth instead of chicken broth.
regarding the dairy: if you are out of milk, you can use half-and-half or even heavy cream for a richer pie. For a dairy-free option, use unsweetened almond milk or oat milk and swap the butter for a plant-based butter alternative. And if you are feeling ambitious, you can absolutely use a homemade pie crust recipe instead of store-bought!
Common Mistakes to Avoid
The most common mistake with chicken pot pie is a runny filling. This usually happens if you don’t cook the sauce long enough to thicken before baking, or if you cut into the pie immediately after taking it out of the oven. Patience is key! Give it that 15-20 minute rest.
Another pitfall is the soggy bottom crust. To avoid this, make sure your oven is fully preheated to 425°F before you put the pie in. The high heat helps crisp the bottom pastry quickly. Also, avoid adding cold filling to the cold dough; having the filling warm helps the cooking process start immediately.
Serving Suggestions
Since chicken pot pie is practically a complete meal in itself (starch, protein, veggies, dairy), you do not need much on the side! I love serving this with a fresh, crisp green salad with a vinaigrette dressing to cut through the richness of the creamy sauce. If you want to go full comfort-food mode, a side of cranberry sauce provides a nice tart contrast. And for dessert? Something light like fruit or a simple cookie is perfect since the main course is so heavy.
Storage and Reheating Tips
Refrigerator: Leftover pot pie keeps beautifully in the fridge for 3-4 days. Cover it tightly with foil or transfer slices to an airtight container.
Freezing Unbaked: You can assemble the pie completely (skip the egg wash), wrap it tightly in plastic wrap and then foil, and freeze for up to 3 months. Bake from frozen, adding about 20-30 minutes to the cook time. Brush with egg wash right before baking.
Freezing Baked: You can also freeze baked leftovers. Let them cool completely, wrap individual slices, and freeze. Reheat in the oven or air fryer for the best crust texture.
Nutrition Facts (Estimated)
| Serving Size | 1 slice (1/6 of pie) |
| Calories | 480 kcal |
| Fat | 28g |
| Saturated Fat | 10g |
| Unsaturated Fat | 14g |
| Trans Fat | 0g |
| Cholesterol | 65mg |
| Sodium | 720mg |
| Carbohydrates | 38g |
| Fiber | 3g |
| Sugar | 4g |
| Protein | 18g |
Frequently Asked Questions
Can I use raw chicken instead of cooked?
Yes, but you will need to cook it first. Dice 1 pound of chicken breast or thighs and sauté them in the butter before adding the onion. Once cooked through, proceed with the recipe.
My bottom crust is always soggy. What can I do?
Try using a glass pie plate (it conducts heat better for crusts) and bake the pie on the lowest rack of your oven. You can also brush the bottom crust with a little egg white before adding the filling to create a seal.
Can I use puff pastry instead of pie crust?
Absolutely! Puff pastry makes for a lighter, flakier topping. If using puff pastry, usually you only put it on top (no bottom crust). Pour the filling into a deep-dish pie plate or casserole dish, top with thawed puff pastry, and bake.
Can I make this ahead of time?
Yes! You can make the filling a day ahead and store it in the fridge. You can also assemble the entire pie earlier in the day and keep it in the fridge until you are ready to bake. If baking a cold pie, you might need to add 5-10 minutes to the baking time.
Why is my filling too thick?
If your heat was too high or you added too much flour, the sauce can get gluey. You can thin it out by whisking in a little extra chicken broth or milk until it reaches your desired consistency.
Can I use fresh vegetables instead of frozen?
Sure! Fresh carrots, green beans, and corn are great. However, since they take longer to cook than frozen veggies, I recommend sautéing them with the onions or boiling them for 3-4 minutes before adding them to the filling.
Do I have to use a bottom crust?
Nope! If you want to cut some calories or just prefer less dough, you can pour the filling into a greased pie dish and just top it with one crust. This is often called a ‘pot pie’ in the South, while the double crust is sometimes called a meat pie.
How do I reheat leftovers without the crust getting soft?
The microwave is the enemy of crispy crusts. Reheat individual slices in an oven or toaster oven at 350°F for about 10-15 minutes. An air fryer also works wonders for reheating!
Conclusion
I hope this Easy Chicken Pot Pie becomes a regular in your dinner rotation just like it is in mine! It really is the perfect solution for those nights when you need a little extra comfort without spending hours in the kitchen. There is nothing quite like pulling a golden, bubbling pie out of the oven and seeing your family’s eyes light up.
If you try this recipe, please leave a comment below and let me know how it turned out! Did you stick to the classic veggies or add your own twist? I love hearing from you. And don’t forget to pin this recipe to your ‘Easy Dinners’ board on Pinterest so you can find it whenever the craving strikes. Happy cooking, mamas!